Reupholstering a Dining Chair Seat with New Fabric
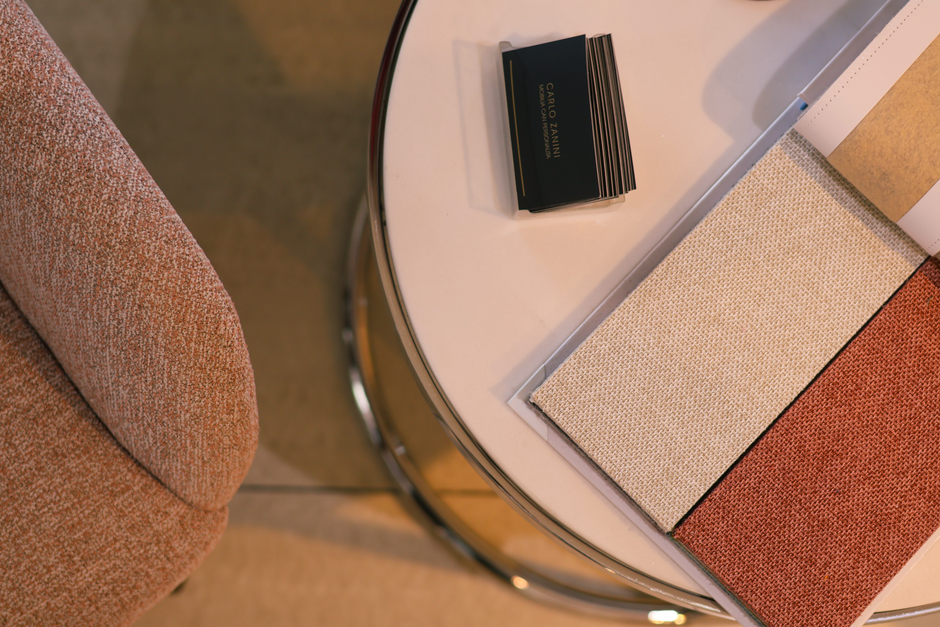
Dining chairs often experience the most wear on their seat surfaces, with fabric fading, tearing, or becoming compressed over time. Replacing the upholstery on a dining chair seat is a process that allows the chair to be refreshed without replacing the entire piece. The steps involved in this task focus on careful removal of existing materials, preparation of new fabric, and systematic attachment. Many home furniture enthusiasts find this project approachable with basic tools and a methodical approach.
Before beginning, it is helpful to understand that the seat pad may be attached to the chair frame with screws or clips, or it may be a slip seat that lifts out entirely. The approach described here applies to the common removable seat pad design. Working on one chair at a time helps maintain consistency in fabric alignment and tension. The process does not require specialized training, but attention to detail in each stage contributes to a neat final appearance.
The following sections outline the typical sequence, beginning with preparation and moving through removal, cutting, and attachment. Each step builds on the previous one, and taking time to perform each stage thoroughly is recommended for satisfactory results.
Preparing the Work Area and Gathering Materials
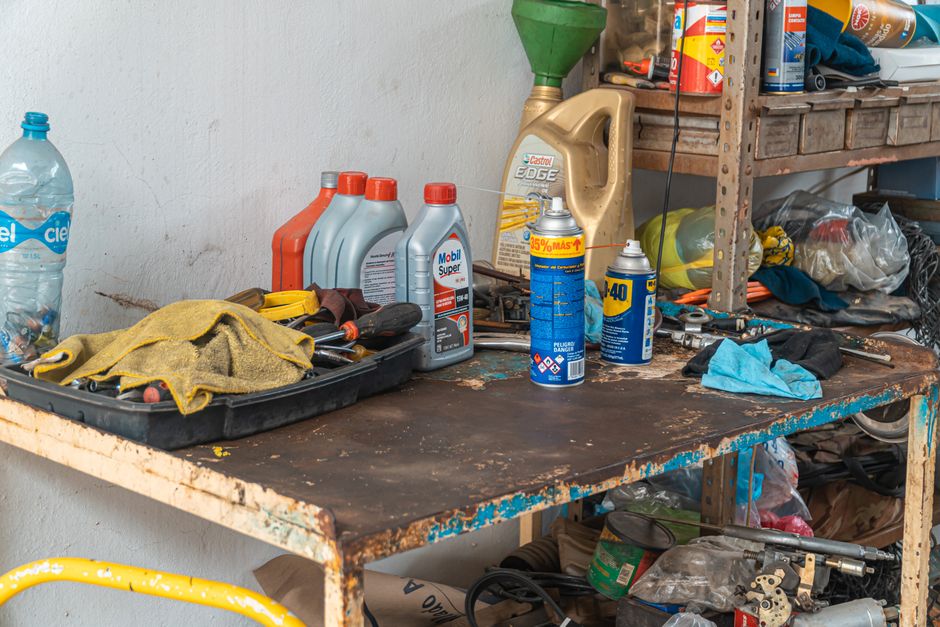
Creating a clean and well-lit workspace is a practical first step. A sturdy table or workbench provides a stable surface for turning the chair upside down and accessing the underside of the seat. It is also useful to have a flat area nearby for laying out and cutting new fabric. Good lighting helps with seeing existing staple lines and ensuring fabric patterns are aligned.
The tools required for this process are relatively straightforward. A staple remover or a flathead screwdriver and pliers are used for extracting old staples. A staple gun that accommodates the appropriate staple size for the chair frame is needed for attaching new fabric. Scissors or a rotary cutter and cutting mat are used to cut fabric, and a measuring tape or ruler helps with accurate dimensions. For the fabric itself, a durable upholstery-grade material that matches the chair’s style is appropriate. Some projects may also benefit from additional padding or batting if the existing cushioning has lost its shape.
Having all materials within reach before starting the removal process helps maintain workflow. It is also advisable to protect the floor or work surface with a drop cloth, as old staples and fabric fibers can scatter during removal.
Removing the Old Upholstery
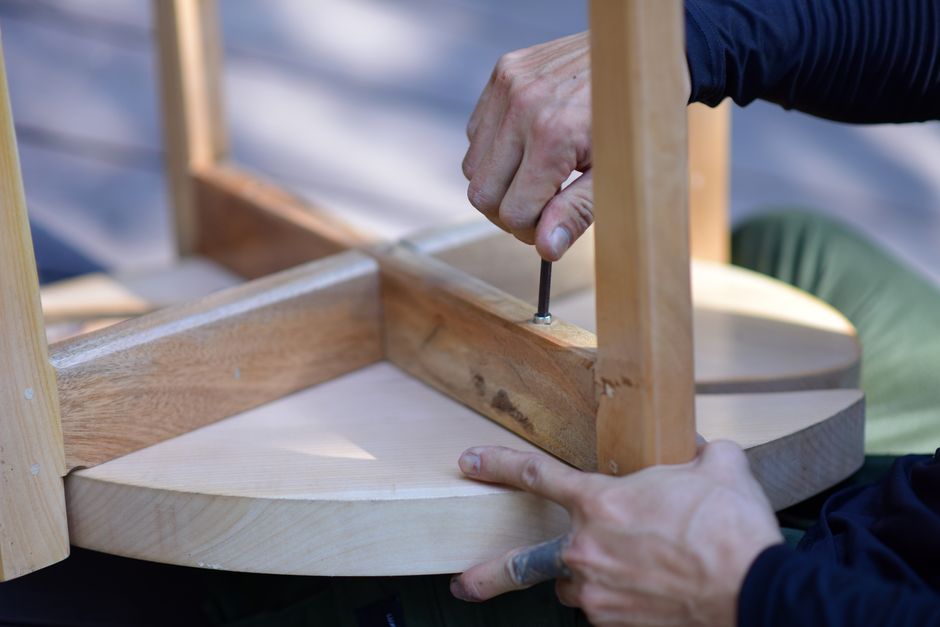
The first hands-on step involves detaching the seat pad from the chair frame. In many dining chairs, the seat is held in place by screws driven from underneath the chair. Turning the chair over reveals the screw heads, which are typically located near the corners of the seat. Removing these screws allows the entire seat pad to be lifted away from the frame. If the seat pad does not have visible screws, it may be a slip seat that fits into a recess and can be pried loose carefully.
Once the seat pad is free, the process of removing the existing fabric and staples begins. Using a staple remover or the edge of a flathead screwdriver, each staple is pried up and pulled out. It is often more efficient to work systematically around the perimeter, starting at one corner and progressing along each side. Old staples may be buried in the wood or compressed, so patience is helpful. Pliers can be used to grip and pull staples that do not lift easily.
After all staples are removed, the old fabric is lifted away, revealing the padding or batting underneath. In some cases, the padding may be attached separately and can be reused if it remains in good condition. If the padding is worn, it can be removed and replaced with new batting or foam. The underlying wood platform or seat board can then be inspected for any damage or loose staples that need to be removed.
It is important to keep the removed fabric as a reference piece for cutting the new fabric, especially if the seat has a specific shape or pattern orientation. The old fabric provides a template for the required dimensions and indicates how much allowance is needed for stapling underneath.
Cutting and Preparing the New Fabric
With the seat pad clean and the old fabric available as a guide, cutting the new fabric is the next stage. The new fabric should be laid out on a flat surface with the finished side facing down. If the fabric has a pattern, checking that the pattern is oriented correctly on the seat before cutting is advisable. Using the old fabric as a template, the new fabric is cut with an additional allowance of approximately 5 to 7.5 centimeters (2 to 3 inches) on all sides. This extra fabric ensures enough material to wrap around the edges and staple securely.
For chairs with curved or irregular seat shapes, it may be helpful to place the old fabric on top of the new fabric and trace around it with a fabric marker or chalk, then cut along the traced line. Scissors that are sharp and intended for fabric reduce fraying, while a rotary cutter and mat provide clean edges for straight cuts. If the seat has a rounded front, cutting small notches into the allowance along the curve can help the fabric lie smoothly when wrapped.
If new padding or batting is being added, it can be cut to the size of the seat platform and placed on top before the fabric is attached. Layering batting between the platform and the fabric can provide a softer feel and help prevent the fabric from wearing against the wood. The batting does not need to wrap around the edges, but it should cover the top surface evenly.
Attaching the New Fabric to the Seat
With the fabric cut and padding in place, attaching the fabric begins. The seat platform is placed upside down on the work surface, with the fabric lying underneath it, centered as desired. Pulling the fabric taut from one side and folding it over the edge, a staple is driven into the center of that side to hold the fabric temporarily. The same is done on the opposite side, ensuring the fabric is stretched evenly. Then the two remaining sides are pulled and stapled similarly, creating a temporary hold in the center of each side.
From this initial anchoring, stapling proceeds outward toward the corners. One common technique is to work in alternating steps, pulling and stapling a few inches on one side, then the opposite side, then the next pair. This method helps distribute tension evenly and prevents the fabric from shifting or wrinkling. The staple gun is pressed firmly against the wood before each staple is fired, and staples are placed roughly 2.5 to 5 centimeters (1 to 2 inches) apart along each edge.
Corners require special attention. Folding the excess fabric in a neat pleat or tucking it under ensures a clean appearance. For square or rectangular seats, a simple hospital corner fold works well. For rounded corners, gathering the fabric and stapling it in small increments creates a smooth curve. Excess fabric can be trimmed after stapling, but it is usually easier to trim after the entire perimeter has been attached. The tension should be consistent—neither too loose, which would cause sagging, nor too tight, which could distort the pattern or tear the fabric.
Finishing and Reinstalling the Seat
After all staples are in place, the seat is turned right side up to inspect the fabric surface. Any wrinkles or uneven areas can be adjusted by removing a few staples, smoothing the fabric, and re-stapling. Once the surface is satisfactory, the excess fabric around the edges is trimmed with scissors, leaving about half a centimeter of fabric beyond the staples to prevent fraying from reaching the staples. The underside of the seat should be free of loose fabric that could interfere with the chair frame.
If the seat pad originally had a dust cover or a thin fabric layer on the bottom, a piece of black or matching fabric can be cut and stapled over the new work to give a finished appearance. This step is optional but contributes to a professional look. The seat pad is then aligned with the chair frame and screwed back into place using the original screws. It is advisable to tighten the screws evenly, alternating sides, to ensure the pad sits flush.
The process is complete when the chair is placed upright and the fabric appears smooth and properly aligned. Repeating these steps on the remaining chairs in a set can create a uniform update across all seats. The approach described here provides a framework for refreshing dining chair upholstery, with the understanding that each chair may present slight variations in construction that require minor adjustments.