How to Replace a Broken Drawer Pull with a Matching Style

Drawer pulls are among the most frequently handled components of kitchen and furniture cabinetry. Over time, repeated use can lead to wear, loosening, or even breakage. When a handle snaps or a screw hole strips, replacing the pull is a practical solution that restores both function and visual continuity. The process does not require specialized skills or tools, and with careful measurement of the existing hole spacing, a matching style can often be found without difficulty.
Understanding the basic geometry of drawer pulls is the first step. Most pulls attach through two screws spaced a specific distance apart, measured from the center of one screw hole to the center of the other. This measurement, known as the center-to-center distance, determines compatibility with replacement hardware. Many standard dimensions exist, such as 3 inches or 4 inches, but variations are common across brands and eras. Taking accurate measurements early prevents unnecessary returns and ensures a straightforward installation.
The approach described here outlines a methodical way to select and install a new drawer pull. It does not guarantee a perfect match in every situation, as factors such as screw thread pitch, backplate shape, and drawer thickness can influence the fit. However, following these steps provides a reliable framework for achieving a similar look and feel to the original hardware.
Measuring the Hole Spacing Accurately
Before purchasing a replacement, the distance between the two screw holes on the drawer front must be determined. Using a tape measure or a ruler, measure from the center of one hole to the center of the other. For pulls with a visible backplate, it is also helpful to measure the distance from the edge of the plate to the hole center to understand the overall footprint. If the original pull is still partially attached, it can be removed to expose the holes fully, making measurement easier.
In cases where the drawer front has multiple sets of holes due to previous replacements, it is important to identify which set corresponds to the broken pull. A consistent measurement across all remaining pulls on the same piece of furniture can confirm the correct spacing. Many manufacturers use standardized spacing, but older or custom cabinetry may have non-standard distances. Recording the measurement in millimeters or decimal inches provides flexibility when comparing options online or in stores.
It is also useful to note the diameter of the screw holes. Most drawer pulls use screws with a diameter of about 4 mm or 5/32 inch, but variations exist. Measuring the hole diameter ensures that the new pull’s screws will fit without forcing. If the existing holes have become enlarged from wear, a washer or a slightly larger screw may be needed, though this can alter the appearance.
Selecting a Drawer Pull That Matches the Style
With the measurement recorded, the search for a matching pull can begin. Matching style involves more than just the hole spacing; the finish, shape, and overall design should align with the existing hardware on other drawers and doors. Common finishes include brushed nickel, oil-rubbed bronze, polished chrome, and matte black. These finishes are widely available, but metal hues can vary between brands, so comparing physical samples or high-resolution images is advisable.
The shape of the pull also contributes to visual consistency. Bar pulls, T-pulls, cup pulls, and arched handles each create a different look. If the broken pull was part of a set, finding an identical replacement from the same manufacturer is ideal. Many hardware suppliers, including RestoreCraft, offer collections that include multiple sizes and finishes, allowing for a cohesive appearance across the entire piece of furniture even if an exact match cannot be found. In such cases, selecting a pull from the same product line with the same finish and similar proportions preserves the overall aesthetic.
For situations where an identical pull is no longer made, a style that echoes the original’s lines and proportions can work. For example, a straight bar pull can replace a curved bar pull if the hole spacing matches and the finish is consistent. The length of the pull relative to the drawer width also matters; a pull that is too long or too short may appear out of scale. Taking note of the original pull’s overall length and projection (how far it sticks out from the drawer front) helps in choosing a replacement that feels natural.
Removing the Damaged Pull and Preparing the Drawer Front
Once the new pull is in hand, the removal of the broken piece is the next step. Using a screwdriver that fits the screw head securely—often a Phillips or flathead—the screws are turned counterclockwise until they come free. If the screw heads are corroded or stripped, applying penetrating oil and using a slightly larger screwdriver tip can provide more grip. In extreme cases, a screw extractor kit may be necessary, though this is uncommon for standard drawer pulls.
After the screws are removed, the old pull comes off. The screw holes should be inspected for debris, splinters, or cracks in the wood. A flashlight helps reveal any damage inside the hole. If the wood around the holes is frayed, a thin application of wood glue or a toothpick inserted with glue can reinforce the area. Once the glue dries, the surface can be lightly sanded flat and cleaned with a damp cloth. This preparation ensures that the new screws will hold firmly and that the pull sits flush against the drawer front.
For drawers with painted or finished surfaces, care should be taken not to scratch the area around the holes. Placing a piece of masking tape over the drawer front and marking the holes with a pencil can protect the finish while aligning the new pull. The tape also provides a surface for marking the center positions if the new pull requires slight adjustment.
Installing the New Drawer Pull
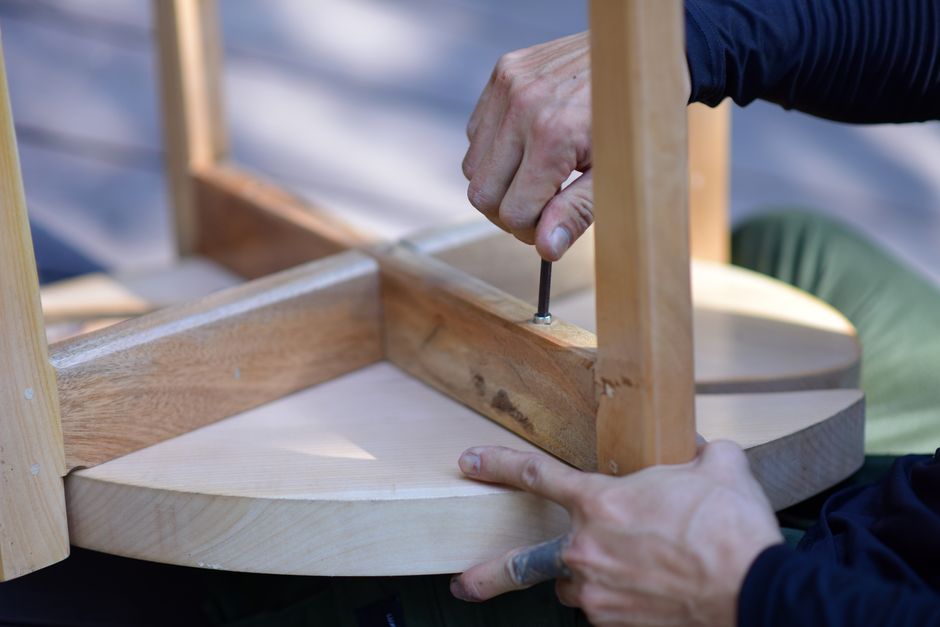
Installation begins by inserting the screws through the mounting holes of the new pull and then into the holes on the drawer front. The screws are turned clockwise with a screwdriver, but only until they are snug. Over-tightening can strip the threads in the wood or distort the pull’s metal. A good practice is to tighten each screw gradually, alternating between the two to keep the pull level. A small level tool can be used to confirm alignment before final tightening.
If the new pull has a backplate, it may cover existing wear marks or slightly misaligned holes. Backplates also distribute pressure more evenly across the drawer front. When installing a pull with a backplate, ensure that the plate sits flat against the surface without gaps. Any gap may indicate that the screws are not fully seated or that the backplate is not compatible with the hole spacing. In such cases, checking the screw length is worthwhile: screws that are too long may bottom out, while screws that are too short may not engage enough threads.
For pulls that use machine screws and threaded inserts (common in metal or plastic drawers), the procedure is similar but requires matching the insert size. Inserts can sometimes loosen over time; if the insert spins, it can be removed and replaced with a new one of the same thread pitch. Once the pull is firmly attached, a final visual check confirms that it sits straight and functions smoothly. The drawer should open and close without binding or rattling.
Final Considerations for a Cohesive Look
After the new pull is installed, stepping back to assess the overall appearance is helpful. The replacement should blend with the other pulls in the room, but minor differences in finish or shape can sometimes be noticeable under direct light. If the mismatch is subtle, it may be acceptable. If it is too apparent, replacing all the pulls on the same piece of furniture or throughout the room might be considered. This approach ensures complete visual uniformity, though it is not necessary for functionality.
Maintenance of drawer pulls involves periodic tightening and cleaning. Dust and grease from handling can dull finishes over time. A soft cloth with mild soap and water usually suffices for cleaning. Abrasive cleaners should be avoided as they can scratch the surface. For metal finishes, a dedicated polish formulated for the specific material can restore luster, though this is optional.
Replacing a broken drawer pull is a task that many homeowners can complete with basic tools and a little patience. The process relies on accurate measurement, careful selection, and proper installation. With the wide availability of standard sizes and finishes, finding a replacement that matches the existing style is often straightforward. Whether the goal is to restore a single drawer or to refresh an entire kitchen, the steps outlined here provide a clear pathway to achieving a consistent and functional result.